A wooden door rarely fails because someone chose the wrong shade. Trouble usually begins underneath. Dust remains in the corners. An old glossy layer is not dulled. Damp timber gets covered too early.
Fresh paint then exposes every shortcut through rough patches, weak adhesion, or peeling edges.
That is why “how to paint wooden doors” is really a question about inspection and preparation. The final colour matters. Yet the work done before opening the paint tin matters more.
In this guide, we’ll take you through the entire process. We’ll also explain where primer fits and how your choice of finish changes the work.
Start by Reading the Existing Door
It’s important to identify the state of your door before going ahead with any process.
So, don’t begin with sandpaper.
Instead, look closely and do the following:
- Open and close the door several times
- Check whether the bottom edge rubs against the floor
- Examine the lock side for chipped paint
- Press around darker patches to see whether the timber feels firm
An older door may have several coating layers. Some may still be sound. Others may lift around panels or hinges.
New timber brings different concerns; it may have small dents or visible resin around knots. The surface may also feel smooth while holding fine workshop dust.
| Door condition | What the surface needs |
|---|---|
| Bare new wood | Cleaning, grain sanding, local filling and suitable primer |
| Sound existing paint | Washing, light sanding and spot repairs |
| Peeling or blistered coating | Removal of failed material before repainting |
| Damp or swollen wood | Moisture source corrected before coating |
| Resinous knots | Appropriate knot treatment compatible with the paint system |
Colour Valley’s current guidance rightly treats primer and paint as different stages. Primer prepares a compatible base, but paint supplies the visible finish.
Neither should be expected to repair damp timber or a loose underlying coat.
Precede Buying Materials with Choosing the Finish
Many homeowners buy a colour first. That reverses the useful order.
For instance, start by deciding whether you want an opaque painted door or visible timber grain.
Opaque wood paint covers the grain and gives you broader colour freedom. It works well when previous repairs have left mismatched patches. Alternatively, a clear or stained system keeps the natural pattern visible. That suits good-quality timber with limited filling.
The two approaches require different preparation and compatible products.
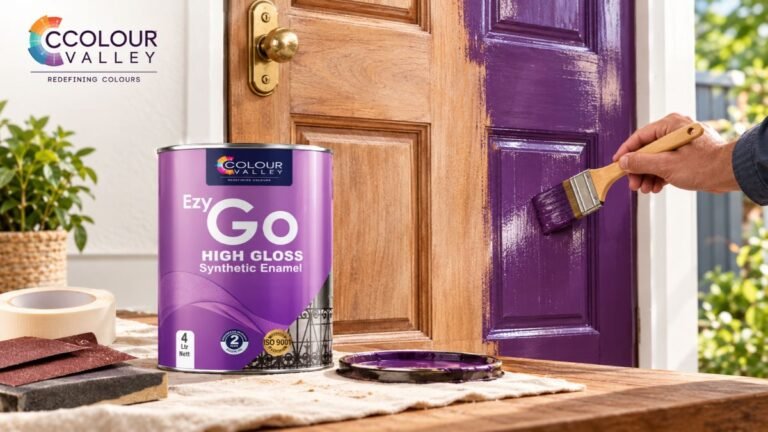
For an opaque system, X1 White Primer Surfacer can be considered as the foundation. This is where the product instructions confirm suitability for your substrate. The finishing option may be Ezy Go High Gloss Synthetic Enamel when a high-gloss enamel surface suits the door and location.
Both appear within Colour Valley’s solvent-based wood-and-metal range.
Always check the current label for:
- Thinning
- Application
- Drying
- Recoating
- Ventilation
- Substrate directions
Should you strip every old wooden door?
A firm coating does not always need complete removal. Sand it until the gloss is evenly dulled. Remove material wherever it is flaking.
Full stripping should be done when the issue is widespread.
Or if thick layers have buried the panel detail.
Your Tools Should Be Appropriate For The Door
A flat flush door is forgiving. But a six-panel door is not.
Deep mouldings hold dust. They also collect excess paint. Narrow edges expose heavy brush marks. Your tool choice should reflect these details.
For most doors, you will need:
- Screwdrivers and labelled bags for hardware
- Floor protection and painter’s tape
- Cleaner suited to the existing surface
- Scraper for loose coating
- Medium and fine abrasive paper
- Sanding block
- Wood filler compatible with the coating system
- Vacuum or clean dusting brush
- Suitable wood primer
- Chosen wood paint
- Quality brush for profiles and edges
- Small roller if the broad areas allow it
- Protective gloves and adequate ventilation
Prepare a Stable Work Area
You can paint around a handle. The result will show that decision. Paint builds against the metal edge; a ridge remains after the tape comes off.
Future hardware replacement may then reveal an unpainted outline.
Remove handles and latches along with hooks and removable number plates. Keep screws with each item. If hinge removal is practical, lay the door flat on supported stands. But if the door must remain hung, wedge it securely. Plan the work so each edge stays accessible.
Good preparation is the least visible part of painting wooden doors.
But it controls the finish. Protect the floor beyond the immediate swing area because dust travels. So do small paint drops from the lower brush edge.
Clean, Repair and Sand
Cleaning should happen before sanding. Wipe the surface using a method that suits the existing finish. Let it dry fully.
Scrape only the loose material. Do not gouge sound wood to remove a stubborn speck. Fill dents and redundant screw holes with a compatible wood filler.
Allow the repair to harden. Sand it level rather than leaving a raised patch for the primer to hide. Sand with the grain on exposed timber. On old paint, aim to remove loose edges and reduce gloss. Feather the boundary between bare wood and sound coating. Run your fingertips across that boundary.
Your hand often finds a ridge that your eyes miss.
The Government of India’s Comprehensive Guide on Painting for Buildings stresses dry and well-cleaned wood, along with sanding along the grain. It advises closer treatment where old coatings have blistered or flaked.
Regardless, your selected manufacturer’s label should therefore remain the final application reference.
Remove dust from panel corners and the upper door edge after sanding.
Apply Primer Without Focusing on the Final Look
A wood primer’s job is to provide the intended base for later coats. It can help control uneven absorption and improve the consistency of the topcoat.
Here’s what you need to do and keep in mind:
- Stir the product as directed. Not every primer needs the same thinner.
- Apply a controlled coat. Work primer into moulded areas without leaving pools.
- Check the lower panel corners. Heavy material often gathers there.
- Inspect the surface under side light once the recommended drying period has passed.
Fine fibres may have lifted; small filling defects can become visible. A light sanding at this stage may improve the finish.
This is the stage where many guides on “how to paint wooden doors” move too quickly. Primer does not erase poor preparation. It simply reveals what needs attention.
Can wall primer be used on a wooden door?
Do not assume so. Products made for masonry and products intended for wood may have different properties. They may have different application requirements.
Use a primer that the manufacturer identifies as suitable. Confirm the label rather than relying on the colour of the primer.
Paint Panels, Profiles and Flat Areas Methodically
Begin with recessed sections and moulded profiles for a panelled door. Move to the central rails, paint the vertical stiles, and finish with accessible edges.
This order helps you manage wet boundaries.
A brush gives control around shaped details. A small roller can cover broad flat sections more evenly.
If using both, keep the working edge active. Do not keep brushing paint once it has started to set. Repeated strokes can leave marks.
Two controlled coats usually look better than one heavy application. Respect the recoating time.
Learning how to paint wooden doors also means knowing when to stop. Once the coat has levelled, leave it alone until the required drying period.
Choose Colour for the Door
Your door experiences less cooperative conditions than interiors:
- It may face afternoon sun
- Children may push it near the lock
- Street dust may settle on the lower rail
White can sharpen a dark corridor but may show marks around the handle. Deep brown works naturally with cream walls. Muted green can sit well beside plants. Charcoal suits cleaner modern elevations but may feel heavy in a narrow interior passage.
Mid-tone shades often hide daily handling better than very pale or dark colours.
Allow the Finish to Cure
Dry paint and cured paint are not the same. A surface may feel dry while remaining vulnerable to pressure. Avoid forcefully reinstalling hardware. Do not clean the new coating early, and keep the door from striking a stopper.
Check the top and bottom edges after curing. Exterior-facing doors deserve particular attention because exposure differs across the door.
A durable result comes from a plain sequence: diagnose, clean, repair, sand, prime, coat and wait.
That is the practical answer to painting wooden doors.
Colour Valley can supply relevant coating options, but the system must still suit your door.